
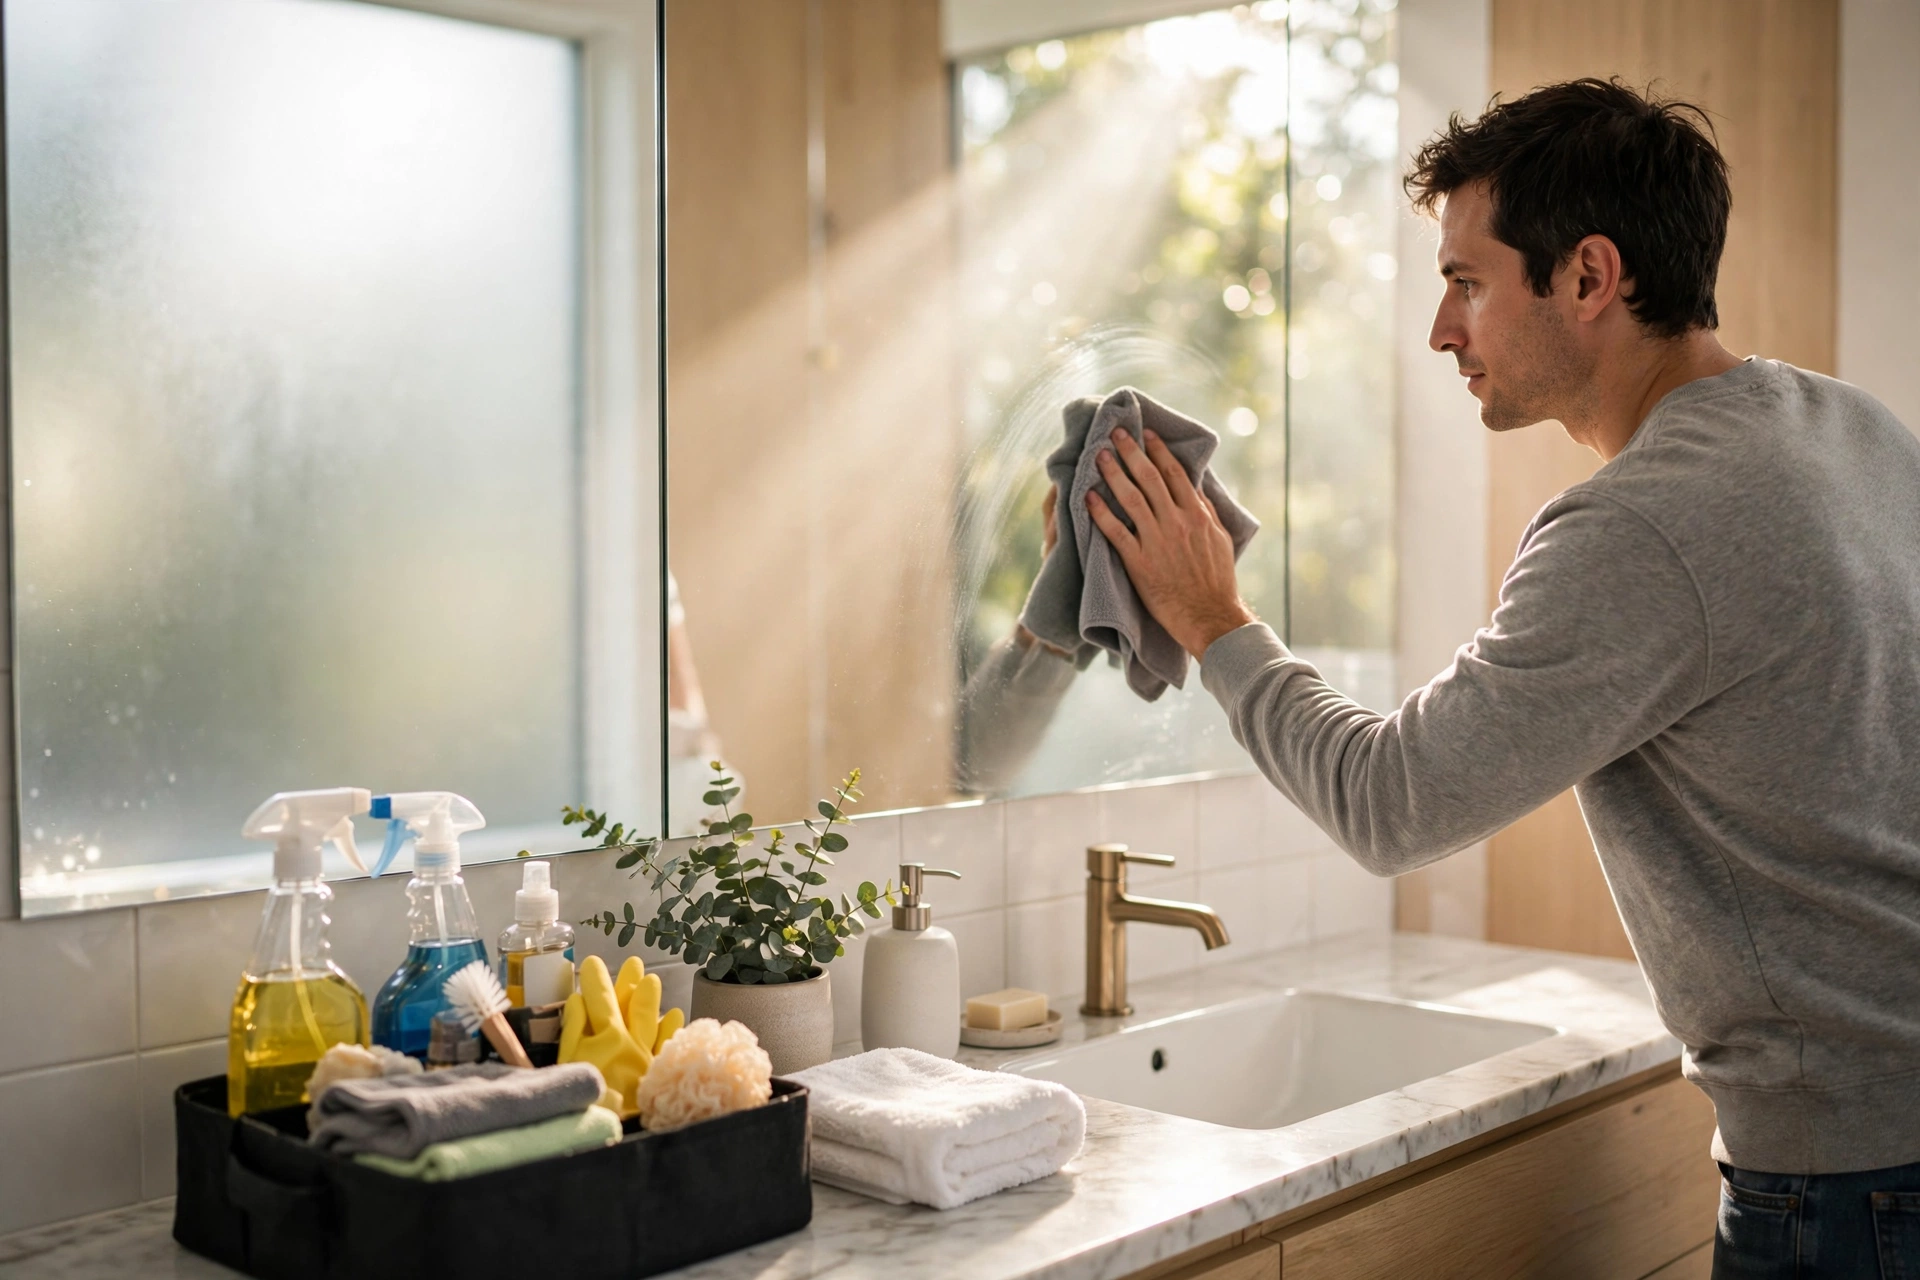
The bathroom is the room guests judge most and homeowners dread most — but deep cleaning it is a skill, not a talent. If you want to learn how to deep clean a bathroom the way professionals do, this checklist walks you through every surface in the right order, with the right products, in about an hour. No more random scrubbing or missed spots.
You will get the complete top-to-bottom checklist, the essential supply kit, pro techniques for grout, glass, and fixtures, how often each task actually needs doing, and the maintenance habits that keep the deep-clean results lasting for weeks.
Before You Start: The Pro Supply Kit
Pros work fast because everything is in one caddy. Assemble yours:
- All-purpose bathroom cleaner (or DIY: dish soap + water works for most surfaces)
- Disinfectant for toilets, handles, and high-touch points — look for EPA-registered, and respect the dwell time on the label
- Glass cleaner or a vinegar-water mix for mirrors
- Baking soda + white vinegar for grout, drains, and deodorizing
- Toilet bowl cleaner with a good angled brush
- Microfiber cloths (several — pros never reuse a dirty cloth on a new surface)
- A scrub brush and an old toothbrush for grout lines and tight spots
- Rubber gloves, a squeegee, and a mop or floor cloth
One safety rule that matters: never mix bleach with vinegar or ammonia — the fumes are dangerous. And ventilate: open the window or run the fan. If strong chemical smells bother you, the DIY recipes in making your home smell fresh naturally include effective low-odor cleaning approaches.
How to Deep Clean a Bathroom: The Complete Checklist
Always work top to bottom, dry to wet, dirtiest last. This order means dust falls onto uncleaned surfaces and the toilet — the dirtiest job — never contaminates what you already cleaned.
1. Prep (5 minutes)
Remove everything from counters, tub edges, and the toilet tank. Toss towels and bath mats directly into the laundry — start them washing while you clean (see laundry basics for proper settings). Take out the trash and replace the bag. Open the window or turn on the fan.
2. Dust top to bottom (5 minutes)
With a dry microfiber cloth or duster: light fixtures, vents, tops of cabinets and the mirror frame, window sills, baseboards. Dust first because wet cleaning turns dust into mud. Do not skip the vent — dusty vents redistribute grime every time the fan runs.
3. Shower and tub (15 minutes)
Spray all surfaces with bathroom cleaner and let it dwell 5–10 minutes — dwell time does half the work. Then:
- Scrub walls, floor, and fixtures with a brush, working top to bottom.
- Grout: make a baking soda paste, apply to grout lines, spray lightly with vinegar, let fizz 10 minutes, scrub with the toothbrush, rinse. For deeply stained grout, this may take two passes — patience beats pressure.
- Showerhead: fill a bag with vinegar, tie it over the head, soak 30+ minutes (do this first so it soaks while you clean elsewhere), then scrub and rinse.
- Glass doors: squeegee after every shower prevents buildup; for existing scale, vinegar + dish soap + a non-scratch scrubber works wonders.
- Drain: pour ½ cup baking soda followed by ½ cup vinegar, wait 15 minutes, flush with hot water. Remove and clean the drain cover — the hair underneath is always worse than expected.
- Rinse everything thoroughly and squeegee glass dry to prevent water spots.
4. Toilet (10 minutes)
Apply bowl cleaner and let it sit while you clean the exterior — inside first is wrong; do the dirtiest part’s chemistry first, then exteriors, then bowl last:
- Wipe the tank, handle (disinfect — it is the most-touched surface), lid, seat, base, and floor around the base with disinfectant.
- Use separate cloths or paper towels for the toilet versus everything else — non-negotiable hygiene.
- Scrub the bowl with the brush, including under the rim, then flush.
- Mop or wipe the floor around the toilet — the splash zone extends further than anyone wants to admit.
5. Sink, counter, and mirror (10 minutes)
Clear the counter completely (you prepped, so it is empty). Spray and wipe the counter, then the sink basin and faucet — use the toothbrush on faucet bases where grime rings form. Shine the faucet with a dry cloth. Clean the mirror with glass cleaner using an S-pattern (circular motions leave streaks). Organize items back onto the counter minimally — the decluttering guide’s bathroom section keeps this zone permanently calm.
6. Floors (10 minutes)
Last step: sweep or vacuum (including behind the toilet and under the vanity — the forgotten zones), then mop with a bathroom-appropriate cleaner. In small bathrooms, hands-and-knees with a cloth is faster and more thorough than a mop. Let the floor dry before replacing mats and trash can.
7. Finishing touches (5 minutes)
Replace with fresh towels and mats, restock toilet paper and soap, empty and replace the trash bag, put everything back in its home. Step back and admire — the pros call this the “reveal,” and it is genuinely satisfying.
Total: about 60 minutes for a standard bathroom. The first deep clean takes longest; maintenance cleans get faster as buildup never returns.
How Often Each Bathroom Task Needs Doing
- Daily (2 min): wipe the sink, hang towels to dry, squeegee shower glass. Part of the 15-minute daily cleaning routine.
- Weekly (20 min): the maintenance version of this checklist — toilet, sink, mirror, floors, trash. Prevents buildup from ever starting.
- Monthly (30 min): grout touch-up, showerhead descale, drain treatment, vent dusting, cabinet fronts, baseboards.
- Quarterly (45 min): the full deep clean above, plus washing the shower curtain/liner, cleaning behind the toilet, descaling faucets, checking caulk and grout for damage.
- Annually: reseal grout if needed, replace the shower liner, deep-clean or replace bath mats, check for leaks under the sink and around the toilet base.
Caulk deserves special attention: cracked or moldy caulk is not a cleaning problem, it is a maintenance problem. Scrape and re-caulk — a $10 tube and an hour prevents water damage that costs thousands. Add it to the seasonal home maintenance checklist rotation.
Pro Techniques for the Tough Spots
Mold and mildew: small spots respond to vinegar or hydrogen peroxide (spray, dwell 10 minutes, scrub, rinse). Large patches (over ~10 sq ft), mold inside walls, or mold that returns immediately signal moisture problems — fix the ventilation or leak first, because no cleaner beats a damp environment. Run the fan 20 minutes after every shower; it is the cheapest mold prevention that exists.
Hard water stains: vinegar soaks dissolve mineral scale on fixtures and glass. For severe buildup, a paste of vinegar and baking soda with extended dwell time, or a dedicated limescale remover. Prevention: squeegee glass after every shower and wipe fixtures dry — 30 seconds that prevents hours of descaling.
Rusty or stained tub: baking soda paste + gentle scrubbing for surface stains; avoid abrasive pads on fiberglass and acrylic (they scratch, and scratches harbor grime). Old porcelain with worn enamel may need professional refinishing — know when elbow grease has done all it can.
Smelly drains: the baking soda + vinegar + hot water treatment monthly, plus physically removing the drain cover to clear hair. Enzyme-based drain cleaners maintain clear pipes without harsh chemicals.
Foggy mirrors: clean with glass cleaner in S-strokes, then buff dry — streaks come from residue, not the cleaner. A thin layer of shaving cream buffed off prevents fogging for days (a classic pro trick).
Keeping It Clean Between Deep Cleans
The deep clean is the reset; habits are the maintenance:
- Squeegee the shower after every use. 20 seconds prevents 90% of soap scum and water spots. Hang the squeegee in the shower so there is no excuse.
- Spray-and-leave daily shower cleaner. A quick mist after showering keeps buildup from bonding — it does not replace scrubbing, but it stretches the interval dramatically.
- Wipe the sink nightly. The 30-second wipe from the daily routine prevents the toothpaste-and-soap concrete that makes weekly cleaning miserable.
- Ventilate always. Fan on during and 20 minutes after showers. Moisture is the root cause of most bathroom grime — control it and cleaning gets dramatically easier.
- Contain the products. A shower caddy and a counter tray limit the surfaces that collect residue. Fewer bottles on the tub edge = less scrubbing around them.
- Wash towels and mats weekly. Damp textiles breed mildew fast. Hang towels spread out, not bunched, and launder weekly per laundry basics.
Deep Cleaning on a Budget: DIY vs Store-Bought
You do not need a cabinet full of specialty products. Honest cost comparison:
- DIY staples (vinegar, baking soda, dish soap): pennies per clean, effective on 80% of bathroom tasks — mirrors, counters, grout, drains, deodorizing. The core kit costs under $10 and lasts months.
- Worth buying: a good toilet bowl cleaner (formulated to cling under the rim), an EPA-registered disinfectant for high-touch points, and a quality squeegee. These three do jobs DIY versions do less well.
- Skip: single-purpose “shower cleaners,” “grout pens,” and heavily fragranced sprays — mostly marketing over chemistry. Elbow grease plus the basics outperforms them.
Run the DIY vs buy cost comparison mindset on every product: if the homemade version works as well, make it; if the commercial version genuinely performs better (disinfectants, bowl cleaners), buy it without guilt. Either way, buying concentrates and refilling spray bottles beats buying new bottles every time — one of the quiet simple ways to save money every month hiding in the cleaning aisle.
New Home or Rental? Start With the Bathroom
Moving into a new place? Deep-clean the bathroom before anything else gets unpacked — it is the room where “someone else lived here” feels most acute, and starting clean sets the standard for the whole home. Our move-in cleaning checklist covers the full property, but the bathroom deserves first priority: disinfect everything, replace the toilet seat (cheap, transformative), and install fresh shower curtain liner.
Renters, note your lease: most require professional-level cleanliness at move-out, and bathrooms are where deposits get docked. Photograph the bathroom’s condition at move-in and again after your move-out deep clean — documentation protects your deposit. Small bathrooms in rentals also benefit from the small space living ideas playbook: vertical storage, clear counters, and light colors make even a tiny rental bath feel generous.
Whether moving in or out, the pro checklist above is the standard. Do it once, thoroughly, and the space is truly yours.
How to Deep Clean a Bathroom in 20 Minutes: Maintenance Mode
Once the first full deep clean is done, you never need the hour-long version again — if you run this 20-minute maintenance monthly. Spray the shower and let it dwell while you do the toilet (bowl cleaner in, exteriors wiped, bowl scrubbed). Then quick-scrub the shower, wipe sink and mirror, sweep and mop floors, refresh towels. The dwell-time multitasking is the pro secret: chemistry works while you work elsewhere.
Monthly maintenance plus the tiny daily habits means the quarterly “full deep clean” becomes a light refresh instead of a restoration project. That is the real payoff of the pro approach — not one sparkling afternoon, but a bathroom that never gets bad in the first place.
Remember the order, always: top to bottom, dry to wet, dirtiest last — and let the cleaners dwell before you scrub. Follow that sequence and the checklist practically runs itself.
Final Thoughts
Learning how to deep clean a bathroom like a pro is really about order and thoroughness: top to bottom, dwell time before scrubbing, the right tools in one caddy, and a checklist that leaves nothing to memory. An hour of focused work produces a bathroom that looks and smells genuinely new — and the maintenance habits keep it there with minutes a week.
Schedule your first deep clean this weekend, caddy stocked and playlist ready. Work the checklist in order, enjoy the reveal, then install the tiny daily habits that protect your work. A sparkling bathroom is not a luxury reserved for hotels — it is just a system, and now it is yours to keep.
As you embark on the journey of mastering the art of deep cleaning, it’s essential to recognize that achieving a pristine bathroom is not merely about the physical act of scrubbing surfaces; it also reflects a mindset that champions efficiency and effectiveness. Just as you can develop a systematic approach to cleaning, you can apply similar principles to other aspects of your life, especially when confronting challenges such as perfectionism. Embracing a philosophy of “good enough” in cleaning can parallel the strategies found in personal development, where learning to let go of unattainable standards paves the way for greater productivity and satisfaction. For those seeking to refine their approach, understanding how to overcome perfectionism can provide valuable insights that enhance both your cleaning regimen and your overall well-being.