
Every spring and fall, the same ritual: bulky sweaters migrate out, shorts migrate in, and somehow the whole operation takes an entire weekend and leaves you wondering where your favorite jacket went. Storing off-season clothes is not complicated, but doing it wrong costs you — musty smells, moth holes, yellowed fabrics, and wrinkled messes that need full rehabilitation. Learning how to store seasonal clothes the smart way protects your wardrobe investment and makes every seasonal swap fast and painless.
This guide gives you eight practical tips covering the full process: what to store and what to release, the wash-and-repair prep that prevents damage, choosing the right containers and locations, moth and moisture prevention that actually works, smart labeling and inventory tricks, and the seasonal swap routine that gets the whole job done in under two hours. Your clothes — and your closet — will thank you.
Why Proper Storage Matters More Than You Think
Clothes are more expensive than we admit. Add up the replacement cost of a winter wardrobe — coats, boots, sweaters, scarves — and most households are storing thousands of dollars in fabric twice a year. Improper storage destroys that value silently: moth larvae eat wool and cashmere undisturbed for months, moisture breeds mildew in sealed bins, sunlight yellows fabrics, and permanent creases set into poorly folded knits.
Beyond money, there is the closet dividend. Off-season clothes consume 30–40 percent of the average closet — removing them is the single fastest way to make a closet feel spacious and functional. Our 9-step closet organization system works dramatically better when it only has to handle the current season. Storage is not just preservation; it is closet liberation.
And there is a rhythm benefit: a smooth seasonal swap, done right twice a year, replaces the daily frustration of digging through wrong-season clothes for months. The system below turns the swap into a satisfying ritual rather than a dreaded chore.
How to Store Seasonal Clothes, Tip 1: Sort and Edit First
Never store clothes you do not actually want. The seasonal swap is a natural editing checkpoint — use it. As you pull off-season items, joy-check each one with the honesty our KonMari method guide teaches: did I wear this last season? Will I wear it next season? Does it still fit my life? Items that fail the test get donated or sold now, not stored for another year of neglect.
Be especially ruthless with damaged items. The sweater with the moth hole you will “repair someday,” the boots with the worn sole, the coat with the broken zipper — decide now. Either schedule the repair this week or release the item. Storing damaged clothes is just paying rent (in space and containers) for guilt. For items worth selling, our guide to selling unused items fast works best at season boundaries, when buyers are shopping for exactly what you are storing.
What remains after editing is your true seasonal wardrobe — usually 20–30 percent smaller than what you started with, and every piece earns its storage space. For the whole-house version of this honest edit, our room-by-room decluttering guide for beginners applies the same principles everywhere.
Tip 2: Wash Everything Before Storage
This is the non-negotiable step people skip, and it causes the most damage. Moth larvae and carpet beetles are attracted to body oils, food residue, and perspiration — not to clean fabric. Storing unwashed clothes is essentially baiting pests. Every single item gets laundered or dry-cleaned before storage, no exceptions.
Follow care labels, but generally: machine-wash what is washable on the appropriate setting, dry-clean wool coats and structured items, and make sure everything is completely dry before packing — even slight dampness sealed in a bin becomes mildew within weeks. This is also the moment to apply the stain treatment our laundry basics guide covers: an untreated stain stored for six months often becomes permanent, while the same stain treated now washes out easily.
For delicates and wools, consider garment bags for the trip to and from storage — they protect clean clothes from picking up dust and odors in transit. Clean storage starts with clean clothes; there is no workaround.
Tip 3: Repair and Refresh Before Packing Away
Storage is the perfect forcing function for the repairs you have postponed. Sew the loose button, fix the hem, replace the shoelaces, condition the leather boots, waterproof the winter coat. Doing it now means next season starts with everything ready — the magical experience of opening storage to find clothes that are not just preserved but improved.
Keep a small repair kit with the storage supplies: needle and thread in basic colors, spare buttons, a lint roller, fabric shaver for pilling knits, leather conditioner, and waterproofing spray. An hour of repairs during the swap saves multiple shopping trips next season — and it is far cheaper than replacing neglected items, a principle that echoes through our 50 simple ways to save money every month.
De-pill sweaters with a fabric shaver before storing — pilling worsens in storage as fibers rub. Brush wool coats with a garment brush. Stuff boots with boot shapers or rolled towels so they hold their shape for months. These tiny efforts compound into a wardrobe that looks new season after season.
Tip 4: Choose the Right Containers
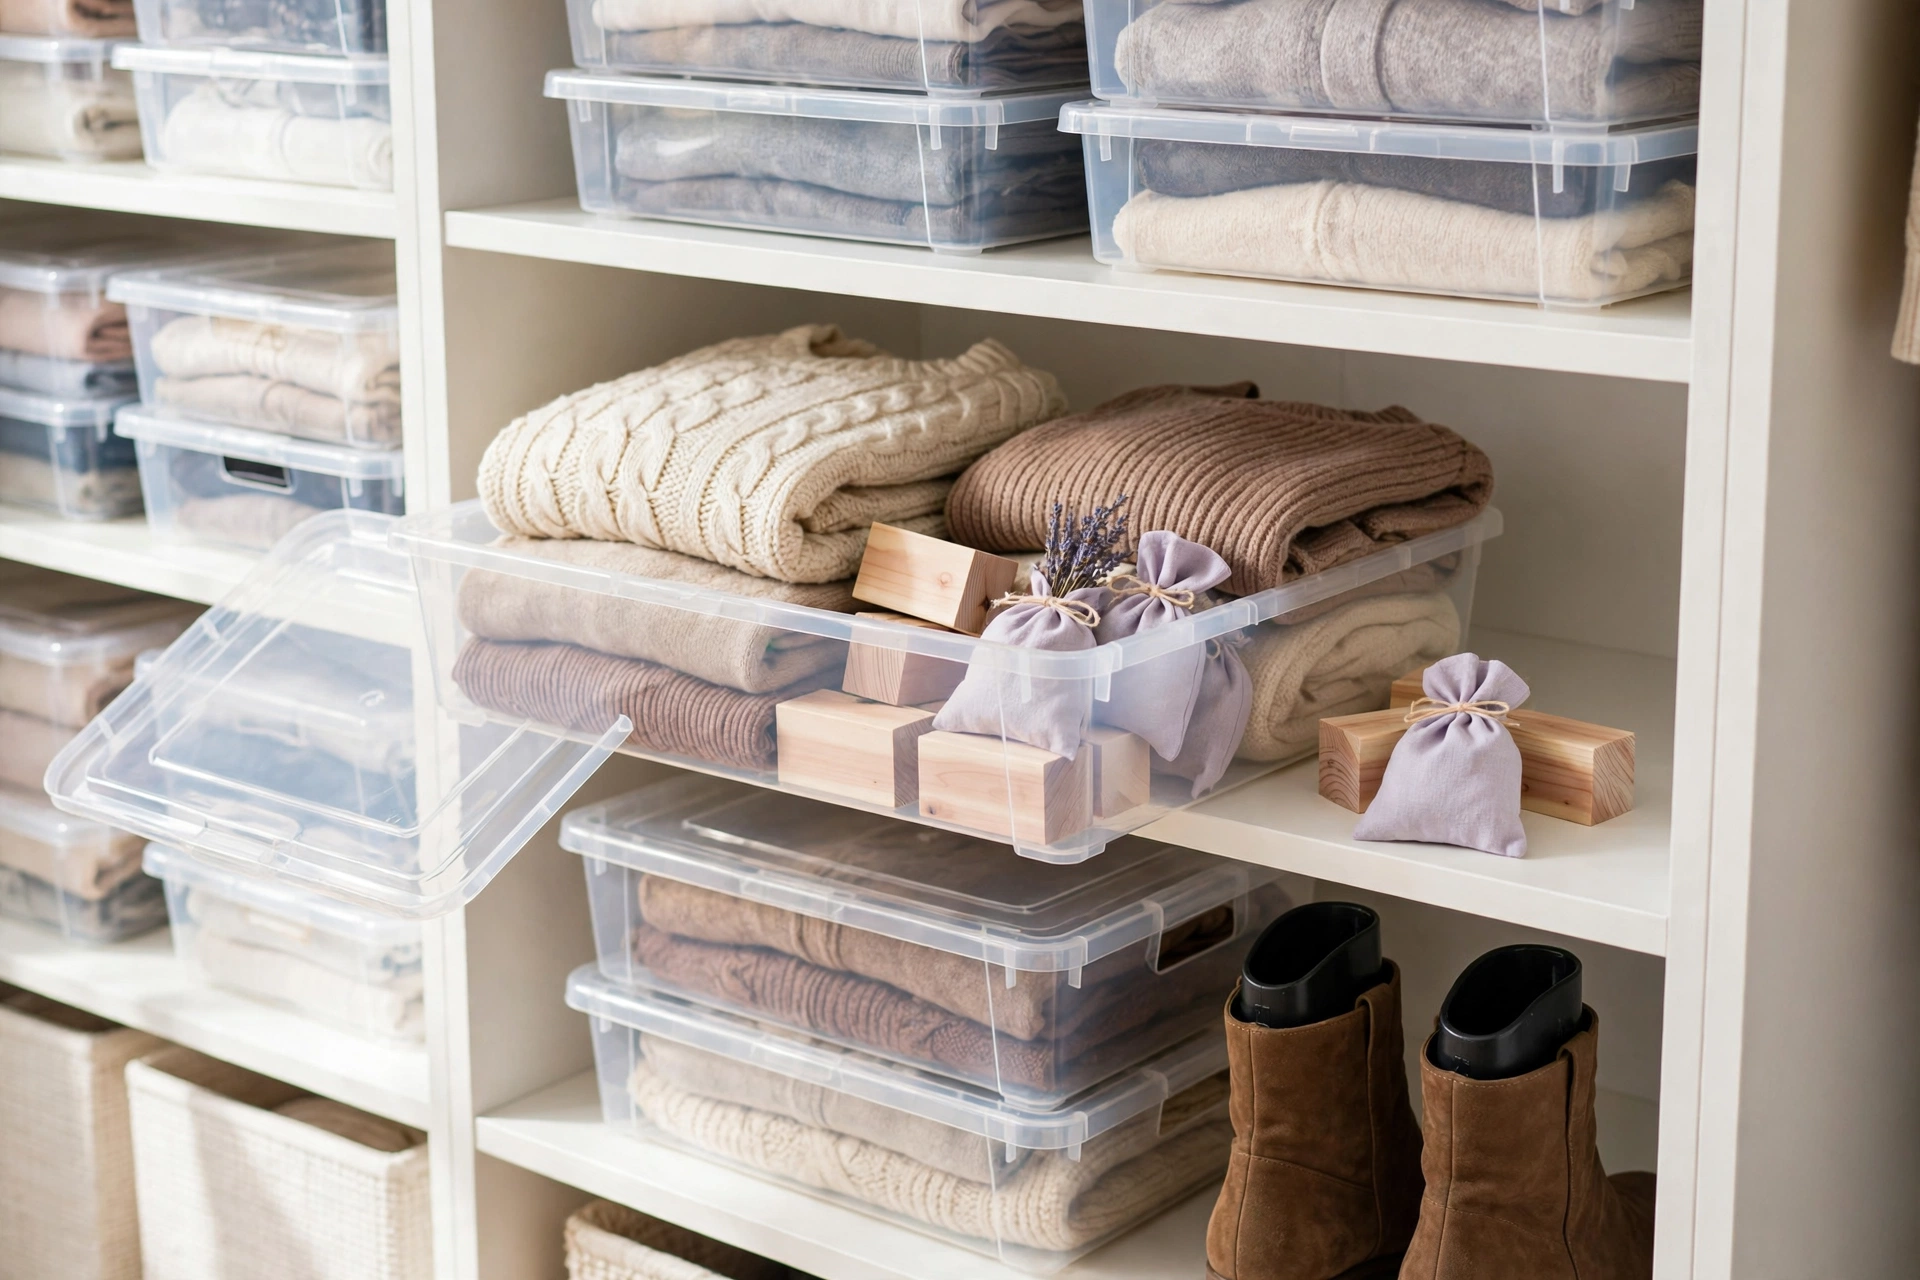
Container choice is where storage succeeds or fails. Best overall: clear plastic bins with latching lids — they keep out dust, pests, and moisture, stack neatly, and the transparency means you can see contents without opening. Choose bins sized for your shelves; oversized bins become immovable and get shoved into bad locations.
Good alternatives: vacuum storage bags for bulky items like comforters and puffy coats — they compress volume dramatically, though they can crease delicate fabrics, so reserve them for sturdy items. Breathable canvas storage boxes work for items stored in climate-controlled closets. Cedar chests are beautiful and naturally moth-repellent for wools, if you have one.
Avoid: cardboard boxes for anything long-term — they attract pests, absorb moisture, and offer zero protection. Dry-cleaner plastic bags left on clothes — they trap moisture and off-gas chemicals; remove them and use breathable garment bags instead. And overstuffed bins — cramming causes permanent creases and strains latches; if the lid does not close easily, you need another bin.
Fold for storage, not for drawers: knits should be folded loosely rather than rolled tight — tight rolling stretches sweater fibers over months, while a loose fold with tissue paper between layers prevents creasing and lets the knit relax. Heavy items (jeans, sweatshirts) go on the bottom of bins, delicates on top. And never hang anything in long-term storage except structured coats in breathable garment bags — hangers stretch shoulders and necklines when gravity works on them for six months.
Tip 5: Pick the Right Location
The ideal storage location is cool, dark, dry, and temperature-stable. Best spots: a closet shelf, under-bed space in proper containers, or a dedicated storage area in a climate-controlled part of the home. Acceptable: the top of closets, guest room closets, or a dry basement corner on raised shelving (never directly on concrete floors, which wick moisture).
Avoid: attics (extreme heat cooks fabrics and melts adhesives), damp basements (mildew central), garages (temperature swings, pests, fumes), and anywhere with direct sunlight (fading and fiber damage). If climate-challenged spaces are your only option, invest in truly airtight bins with desiccant packets and check contents mid-season — imperfect storage with monitoring beats perfect storage you do not have.
Keep storage accessible enough that the seasonal swap is not an expedition. If retrieving bins requires moving furniture and a ladder, you will postpone the swap for weeks. In tight homes, our small space living ideas reveal storage spots you are probably overlooking. The best storage location is the one you will actually use twice a year without dread.
Tip 6: Prevent Moths, Moisture, and Odors
Moths: the clothes moth does not eat fabric — its larvae do, and they target animal fibers (wool, cashmere, silk) soiled with body oils, which is why Tip 2 matters so much. Cedar blocks and rings deter moths and absorb moisture — sand them lightly each season to refresh the scent. Lavender sachets add pleasant fragrance and mild deterrence. For active infestations, pheromone traps monitor and reduce populations; severe cases warrant professional treatment before storing anything valuable nearby.
Moisture: silica gel or desiccant packets in each bin absorb residual humidity — rechargeable versions can be dried and reused indefinitely. In humid climates, a small dehumidifier in the storage area protects everything at once. Never store anything even slightly damp, and avoid airtight-sealing items in humid conditions without desiccant — trapped humid air is worse than ventilated dry air. As an extra safeguard, toss a simple humidity indicator card into one bin per storage area; a quick glance at your next visit tells you whether conditions stayed safe all season.
Odors: clean clothes in clean bins in dry locations rarely develop odors. If storage areas smell musty, address the space first with the techniques in our natural home freshness guide — scented products inside bins only mask problems. A dryer sheet in each bin is the lazy classic; lavender sachets are the classier version. Either way, they are finishing touches, not solutions.
Tip 7: Label Everything and Keep an Inventory
Unlabeled bins are mystery boxes you will dread opening. Label each bin specifically — not “winter clothes” but “Winter: sweaters + scarves” and “Winter: ski gear + heavy coats.” Specific labels mean you can grab one bin for an unseasonable cold snap without excavating all of them.
Keep a simple inventory: a note on your phone listing each bin’s contents, or a photo of the bin’s contents taped inside the lid. The photo method is brilliantly low-effort — snap the open bin before closing it, and you have a visual inventory forever. When next season arrives, you will know exactly what you have before you shop, which prevents the duplicate-buying that clutters closets and budgets alike.
Store the inventory where you will find it — a phone note titled “Storage” beats a perfect spreadsheet you never open. This tiny habit also supports the 15-minute daily cleaning routine mindset: systems you can maintain beat systems you cannot.
How to Store Seasonal Clothes, Tip 8: The 2-Hour Swap Routine
Here is the full swap, start to finish. Hour 1 — out with the old season: pull all off-season clothes from closets and drawers. Sort into keep-store, donate/sell, and repair piles. Bag donations immediately (car trunk, not hallway). Set repairs aside with a this-week deadline.
Mid-swap — prep: launder or dry-clean everything being stored (start loads first, sort while they run). Make repairs. Let everything dry completely — this is the step to never rush.
Hour 2 — pack and swap in: fold knits (never hang — hangers stretch stored knits), roll or fold the rest, place in labeled bins with cedar and desiccant, photograph contents, seal, and move bins to storage. Then bring in the new season’s bins, unpack, hang and shelve everything in its zone per our closet organization system, and do a final five-minute tidy.
Schedule swaps on the calendar — late October and late April work for most climates — and treat them as appointments. Add the dates to your monthly life admin checklist so they never slip through the cracks. Two focused hours twice a year replaces months of closet frustration. Put on music, make it a ritual, and enjoy the strange satisfaction of a closet that contains exactly the right clothes.
Final Thoughts
Knowing how to store seasonal clothes the smart way comes down to eight habits: edit before storing, wash everything, repair now, choose proper containers, pick a cool dry dark location, prevent moths and moisture, label and inventory, and run the swap as a scheduled two-hour ritual. None of it is difficult — it just needs doing, completely, twice a year.
Start with the coming swap. Pull the off-season pile, be honest about what earns storage, wash what remains, and pack it like you respect it — because you bought it, and it should last. Your wardrobe is an investment; storage is how you protect it.